Wednesday, January 23, 2013

A Southern Gal's Coconut Creamy Custard Pie


Coconut Creamy-Custard Pie
Yield: One large pie and six mini pies or two small pies

Ingredients:

1 box of two 9" refrigerated pie crusts or two 9" frozen pie shells
5 cups of sweetened shredded coconut (divided)
1 1/2 cups of whole milk (divided)
3/4 cup of sugar (divided)
1 13.5oz can of coconut milk
1 15ox can of cream of coconut
1 envelope of gelatin
1/4 cup of corn starch
1 egg
3 egg yolks
1 tablespoon of vanilla extract
1 teaspoon of coconut extract
1 tablespoon of butter
1 pinch of salt
2 cups heavy whipping cream
1/4 cup powdered sugar

Directions:

Crust:
1. Unroll your refrigerated pie crust and press into your pie shell. If you are making mini pies also, now is the time to cut out your dough and place into mini pie shells.
2. Put tin foil on top of your large crust and fill with lentils, or any other beans you have on hand, and bake at 425 F for 20 minutes. Take the pie shells out, remove beans and foil, and place tin foil around just the edges of your pie shell so the edges don't burn. Place back in the oven for 10 more minutes. At this time add your mini pie shells, if you are making minis as well. The minis only need 10-12 minutes in the oven at 425 F. After everything is baked, turn off your oven and set the pie shells on the counter to cool while you work on your filling.
Filling:
3. In a small bowl add 1/2 cup of whole milk and your packet of gelatin. Mix with a fork and let set for 10 minutes.
4. In a medium saucepan add 1 cup of whole milk, can of coconut milk, 1/4 cup of sugar, coconut extract, and vanilla extract on medium heat for about 10 minutes. Make sure to mix continuously so you do not burn your milk!
5. In your Kitchen Aid mixer, fitted with the whisk attachment, add your egg and egg yolks. Whip at medium speed for 1 minute. Add your salt, remaining sugar, and corn starch to your mixer. Mix for another minute.
6. Slowly add in your milk and gelatin mixture, to your Kitchen Aid mixer, while on a low speed. Increase your speed to medium and mix well for 1-2 minutes.
7. At this point your saucepan milk mixture should be simmering away and ready. Slowly spoon, with a large cooking spoon, one spoonful of your hot milk into your Kitchen Aid mixer's mixture. Keep your mixer on low and keep spooning, slowly, until there is no mixture left in your saucepan. Let your mixer run for 1-2 minutes on low to incorporate all your ingredients.
8. Remove your Kitchen Aid mixer's bowl and place all the contents back into that saucepan. Cook on medium for 5 minutes. Continuously stir with your cooking spoon. Make sure to get out any lumps that may be forming in the cooking process. After 5 minutes your mixture should be pudding-like and creamy.
9. Turn your stove top heat off and add your cream of coconut and butter and stir well. Then, add 3 cups of shredded coconut to your mixture. Pour your mixture into your pie shells. Refrigerate for 8-12 hours or overnight.
Topping:
10. In your Kitchen Aid mixer, add your heavy whipping cream and your powdered sugar. Blend on high until peaks are forming. Spread heavily across your pies.
11. Sprinkle the remainder of your shredded coconut on top of your pies. Enjoy!


    This dessert is perfect to make the night before you are having guests over and all you have to do the day of is make the topping. There are lots of steps to this pie, and lots of dishes that get dirtied in the process, but it is all so worth it in the end! I am currently in coconut heaven! Yum!

Note: If you are dairy-free you could replace the whole milk with an extra can of coconut milk and the filling should still set up properly. Also, if you whip coconut milk it becomes the texture of whipped cream. You could replace the whipped cream topping with whipped coconut milk instead! Enjoy!


Make sure to like my Cooper and Chloe Facebook Page!


Friday, January 18, 2013

Homemade Salsa


Homemade Salsa
Yield: 12 cups
                               

Ingredients:
2 cans of whole peeled tomatoes (28oz cans each)
2 cans of diced tomatoes (15 oz cans each)
4 roma tomatoes, diced
2 medium onions or 1 1/2 large onions, diced
2 cups of chopped cilantro
1 cup of chopped green onions
1 whole head of garlic, minced (aprox. 14 cloves)
3 shallot cloves, minced
4 tablespoons lemon juice
salt and pepper
1-2 jalapenos (depending on your heat preference)


Directions: 
1. Finely chop your onions, green onions, cilantro, and tomatoes. 
2. Mince your garlic, shallots, and jalapenos (if you decide to add jalapenos).
3. In your food processor, add your canned tomatoes, dashes of salt and pepper, lemon juice, and add half of everything that is on your cutting board (half your tomatoes, onions, garlic, cilantro, green onions, shallots, and jalapenos, etc). Blend in your mixer for 10-12 seconds.
4. In a large container add the remaining ingredients, that are on your cutting board, and then pour the salsa mixture, from your food processor, over the fresh ingredients. Stir well and store in your fridge for up to three days.


Enjoy your fresh and homemade salsa with some homemade corn chips! Here is my recipe for corn chips and guacamole. I make salsa, guacamole  and chips every couple of weeks. It is a staple in our house: healthy and yummy! Have a great night! :)

Make sure to like my Cooper and Chloe Facebook page!

Sunday, December 16, 2012

Bite Sized Pecan Pies

 
Bite Sized Pecan Pies
Yield: 120 pies
 
Ingredients:
 
120 Athens Phyllo Shells
2 1/2 cups chopped pecans
1 cup of granulated sugar
1/2 cup of brown sugar
1 teaspoon salt
1 cup of Karo light corn syrup
1 stick of melted butter
3 large eggs (beaten)
 
 
Directions:
 
1. Chop your pecans roughly and portion out about 3/4 teaspoon to each phyllo cup.
2. Melt your butter in the microwave for about a minute.
3. In your Kitchen Aid Mixer, with the whisk attachment, beat your eggs for about a minute.
4. Add in your salt, brown and granulated sugars, and melted butter. Mix well.
5. Add in your corn syrup and mix well.
6. Carefully pour your mixture over your pecans in each phyllo shell. Only fill half way!! I know it is tempting to cover the pecans with the mixture, but if you do the shells will overflow while baking.
7. Bake at 350 F for 10 minutes. Only bake one tray of pies at a time.
8. Let your pies rest for at least an hour before serving, or let cool for serving. They refrigerate well and will last about 3-4 days in your fridge.
 
 
These Pecan Pie Bites are so much better than traditional pecan pie because you get all the "good stuff" from the pecan pie with out the feeling of it being so heavy. I surely didn't regret eating five last night, where as I would have regretted eating a whole slice for pecan pie. Ahh, the guilt we put on ourselves for eating yummy food.... Happy Holidays!


Mini Pumpkin Pies


Mini Pumpkin Pies
Yield: 32 pies


Ingredients:

2 cans of Libby's Pumpkin Puree (15 oz each)
1 1/2 cups of granulated sugar
1 tsp salt
1 tablespoon of cinnamon
1 teaspoon of ginger
1 tablespoon of pumpkin pie spice
4 large eggs
2 cans of evaporated milk (12 oz each)
32 unbaked mini pie shells

Directions:

1. In your Kitchen Aid Mixer, with the whisk attachment, beat your eggs for about a minute.
2. Add in your evaporated milk, salt, and all your spices. Mix well.
3. Add in your sugar and pumpkin puree and mix well.
4. Place all your pie shells on a cookie sheet (or two) and make sure they are evenly spaced. Gently pour your pie mixture into each shell. Fill them right below the crust lip...does that make sense?
5. Heat your oven to 425 F and bake for 10 minutes. Reduce the temp down to 350 F, while your pies are baking, for an additional 20 minutes.
6. Let pies rest for at least one hour before eating warm or let cool and serve cool. You can store them in your fridge for a couple of days, but after about three days they start to get funky!
Enjoy! :)

These make for perfect neighbor gifts. I plan wrapping some pies up in cellophane and giving them to our neighbors today. Happy Holidays!


Make sure to Like my Cooper and Chloe Facebook page!

Mudslides


Yield: 14 servings

Ingredients:

3 quarts of Vanilla Ice Cream
2 cups of Irish cream (Bailey's)
2 cups of coffee liqueur (Kahlua)
2 cups of vodka
chocolate syrup

Directions:

1. Pull your ice cream out of the freezer and run under water for about a minute. Let it sit in the container and in the sink for about 10 minutes un-thawing.
2. Dump your ice cream into a large bowl.  Add in all your alcohol and mix well with a large spoon or spatula. It is okay to leave ice cream lumps.
3. Drizzle your chocolate syrup into your martini glasses and poor your mixture in. Top with whip cream and more chocolate syrup or leave it as is.

I picked up these martini glasses from the dollar store...for you guessed it $1 each! I had several containers of vanilla ice cream in my freezer that needed to get used so I mixed these up to serve at our Christmas Party last night. I'm really pleased with how they turned out.  I had planned on topping them with whipped cream, but I didn't whip enough cream to go with my cheesecake and the Mudslides. In all honesty, I didn't measure anything and I just dumped alcohol into my melting ice cream, but I am guesstimating that is how much I put in them. Enjoy!!


Tuesday, November 20, 2012

Pumpkin Cupcakes


Pumpkin Cupcakes
 
Yield: 22-24 regular cupcakes
 
Ingredients:
 
1 cup of vegetable oil
1 can of Pumpkin puree (I used Libby's)
4 large eggs
1 teaspoon vanilla extract
2 cups of granulated sugar
2 cups of all purpose flour
1 teaspoon cinnamon
1 teaspoon baking soda
1 teaspoon baking powder
1 teaspoon salt
1 tablespoon pumpkin pie spice
1 teaspoon ginger
 
Directions:
 
1. In your Kitchen Aid Mixer, fitted with the whisk attachment, add your eggs and oil. Mix well.
2. Add in your Pumpkin puree, vanilla, and all your spices. Mix well.
3. Add your sugar and mix well.
4. In a separate bowl, mix together your flour, salt, baking soda, and baking powder. Add your flour mixture slowly to your pumpkin mixture on low.
5. Line your muffin tins with cupcake liners and scoop out your batter with a 1/4 measuring cup. Add only 1/4 cup to each regular sized muffin tin.
6. Bake your cupcakes at 350 F for 20-22 minutes. Let cool before frosting with Cream Cheese Frosting.


I made this recipe up last night and I think they were a success! I made them for my son's Thanksgiving Feast at his Preschool today and all the little ones gobbled them up! I topped the cupcakes with my homemade Cream Cheese Frosting and some Wilton orange sprinkles and pumpkins I picked up at AC Moore this morning. There are four cupcakes left over that I have hidden in the back of my fridge and I am trying my hardest not to eat them!


Thursday, November 15, 2012

Homemade Chocolate Ice Cream

For those of you who have been following along my food journey, and for those that know me, know that the only chocolate I use is Ghirardelli. The other night I decided to take what I had in the pantry and in the fridge and turn it into ice cream. Oh MMM Gee! It turned out to be the best chocolate ice cream I have ever had! It is a small quantity, but large in flavor so you only need a little bit! I just made the recipe up as I was going along and thankfully things went smoothly!


Ingredients:

1 1/2 cups whole milk
2 cups heavy cream
3/4 cup sugar
1 tablespoon Vanilla Extract
1 cup Ghirardelli Ground Chocolate
1/2 cup Ghirardelli Unsweetened Cocoa


I didn't end up using the Ghirardelli bar pictured
 
 
Directions: 
 
1.  In a medium saucepan, add your milk, cream, and vanilla. Let simmer on Low-Med for 15 minutes.

 
2. Add your sugar, chocolate, and cocoa.

 
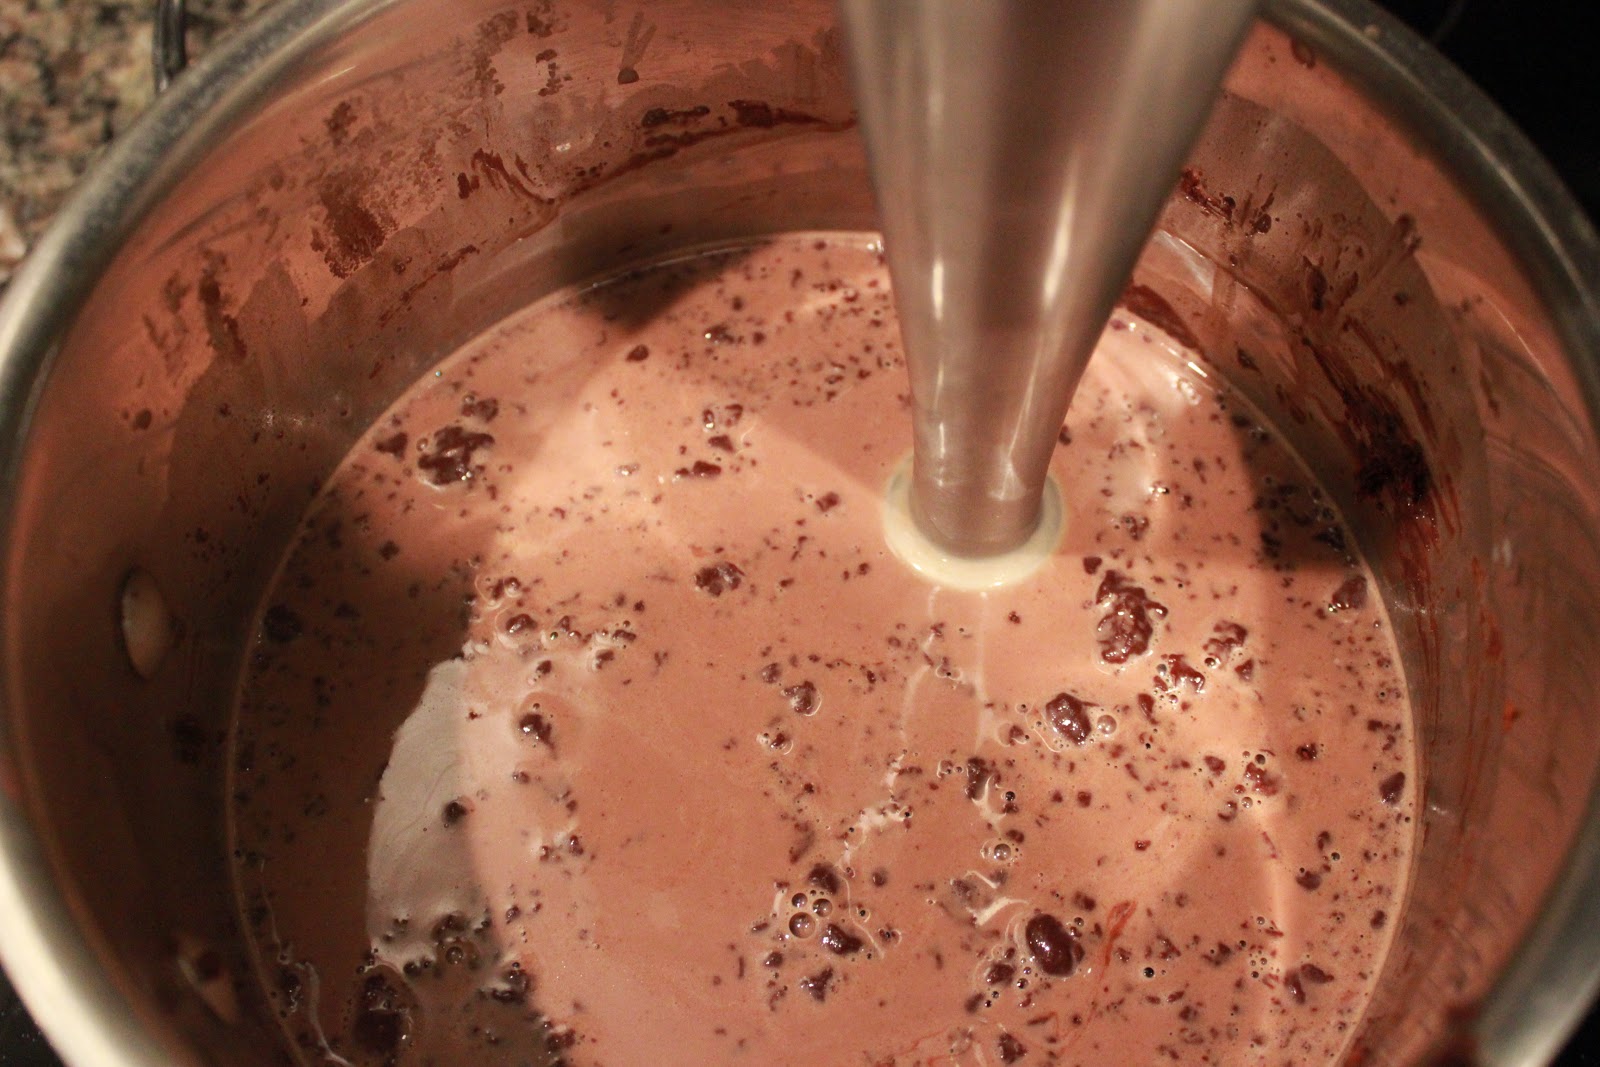
3. Mix well with your immersion blender. If you don't have an immersion blender than dump into your food processor and then add back to your pot when blended.


4. Let your mixture simmer on Low-Med for another 20 minutes until it has thickened.


5. Let your mixture cool and then refrigerate over night.
 
6. The next day, turn on your Cuisinart Ice Cream maker and add your chocolate mixture to it. Let it run for 20-25 minutes.


7. Your mixture should like this when finished. Serve immediately or store in a freezer safe container and enjoy late! :)